Introduction
There are different approaches to installing WordPress on Mac. In this article, we will cover the topic “How to install WordPress on Mac”. We are creating another article also to install WordPress on Windows and Linux. If you are planning to host a WordPress website or blog and would like to test everything locally (Mac) by installing WordPress locally, before making it live on production, then this article will help you.
MAMP is a collection of software to help you install WordPress on a Mac. In other words, you will be equipped with everything required to set up a local WordPress environment. You may also test your WordPress website on a mobile device with MAMP PRO. You can edit your website on a variety of gadgets, including your smartphone or tablet, using its NAMO application.
You won’t need to run a script or make any configuration file changes thanks to MAMP, which is even another advantage. MAMP does not alter any current operating systems, therefore you can end your use of it by simply deleting the application.
Please follow the process one by one and at the end, you will have a working WordPress on your local system.
Let’s Start
We will install WordPress on MAMP (Macintosh, Apache, MySQL, and PHP). Steps to install WordPress locally:
Step 1: Install the latest version of WordPress
Download the latest version of WordPress from here. Click on “Download WordPress”. This will start downloading a zip file and take a few seconds to download. At the time of writing this article, the latest version is 6.1.1. You might get a higher version, so go with the latest stable version.

Now create a directory in your user directory. Say it’s “Sites”.
Step 2: Install MAMP for Mac.
Download MAMP for Mac from its official website (https://www.mamp.info/en/mamp/mac/). Select the download version as per your CPU. In order to successfully install MAMP, you must be running Mac OS X 10.6.6 or later.
MAMP quickly sets up a local server environment on your macOS or Windows machine. The installation of MAMP for Mac is simple and free. Any Apache installation already running on your machine won’t be compromised by MAMP. Without running a script or making any configuration file changes, you can install Apache, Nginx, PHP, and MySQL! Additionally, MAMP doesn’t alter any of the “normal” systems; if it’s no longer required, all that needs to be done is to simply delete the MAMP folder. You may even test your projects on mobile devices without much difficulty with the aid of our regional DNS server NAMO. So here we are going to use MAMP to install WordPress on Mac.
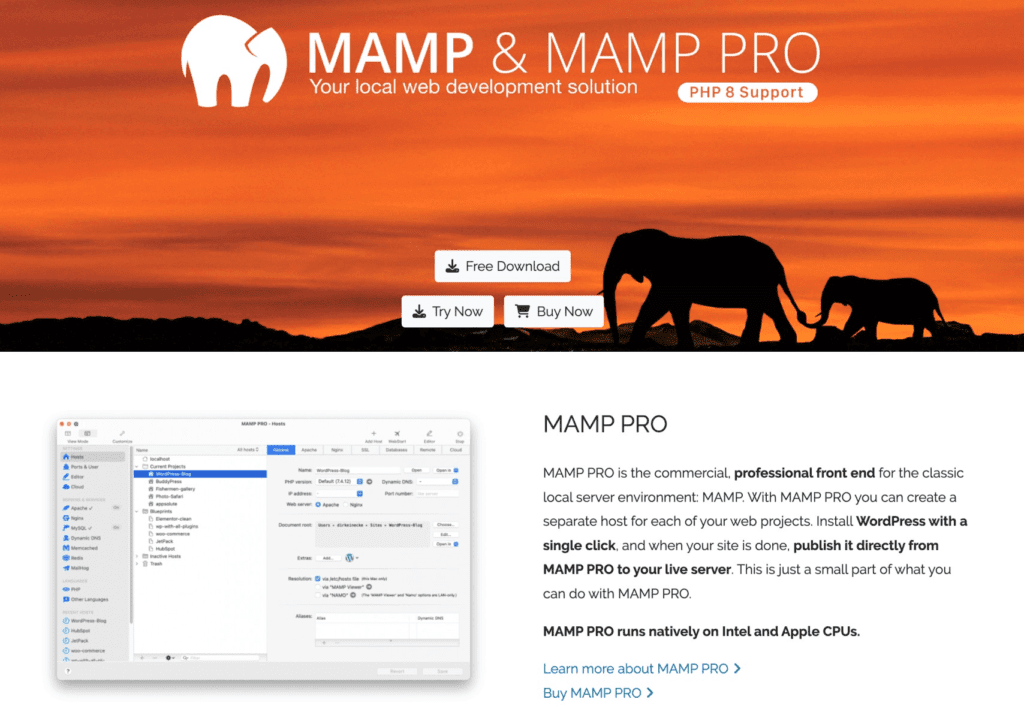
It can take a few minutes to download. Click on the downloaded file and this will open the Installation dialog box. Click on Continue for Introduction and Read Me part. Now for Licence, it will prompt a dialog box. Click on Agree and after that click on Install. Validate with your password to proceed.
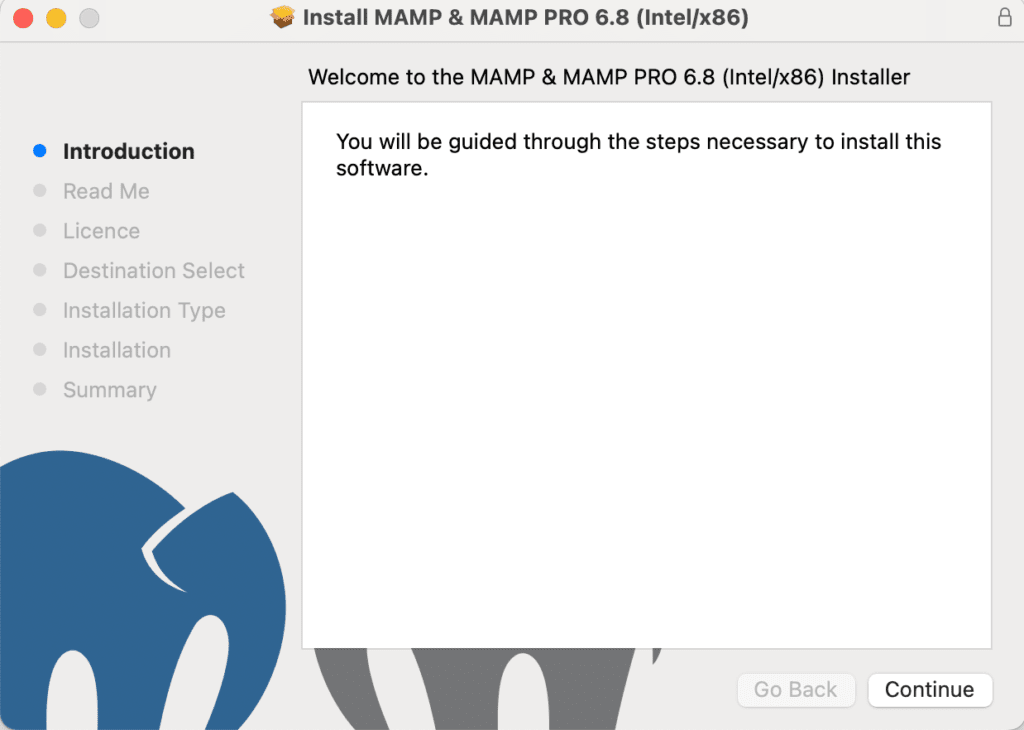
Now the installation will be started. Finally, you will get the information “The installation was successful.”

Click on Close and move to the bin if you don’t want to keep the installation file.
Step 3: Now go to your Application directory and open the MAMP folder.
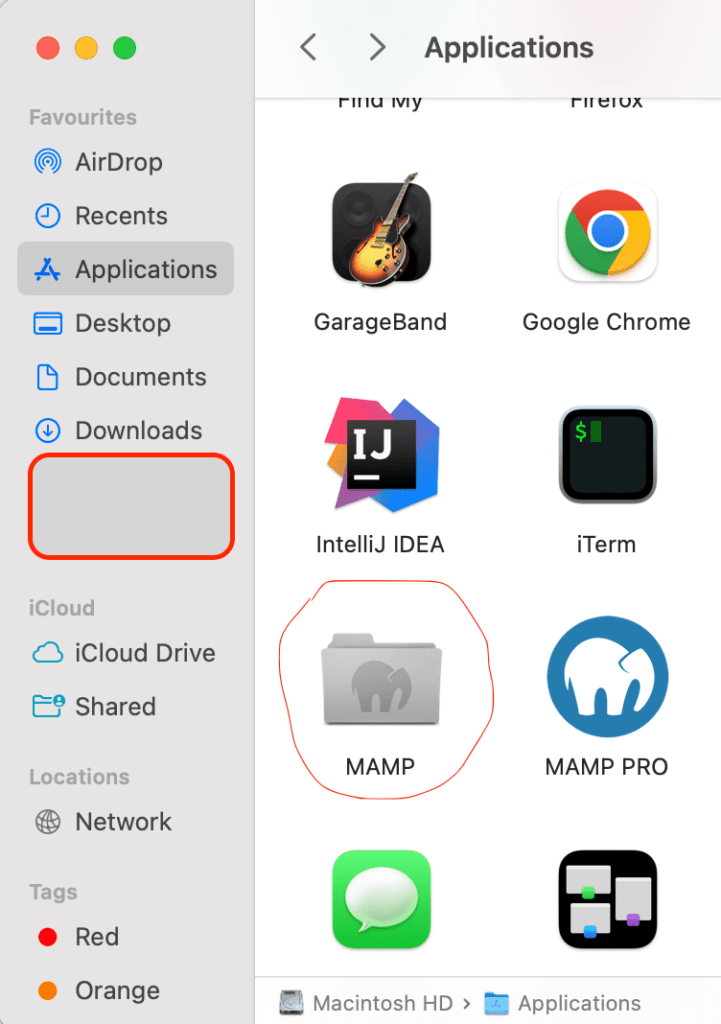
Open the MAMP application from the MAMP directory.

When you open MAMP it might ask for upgrading to the PRO version. Just ignore that. Here you will have the option of 2 servers, Apache and Nginx. I would prefer to go with Nginx. You can choose any of them.

Step 4: Change the ports
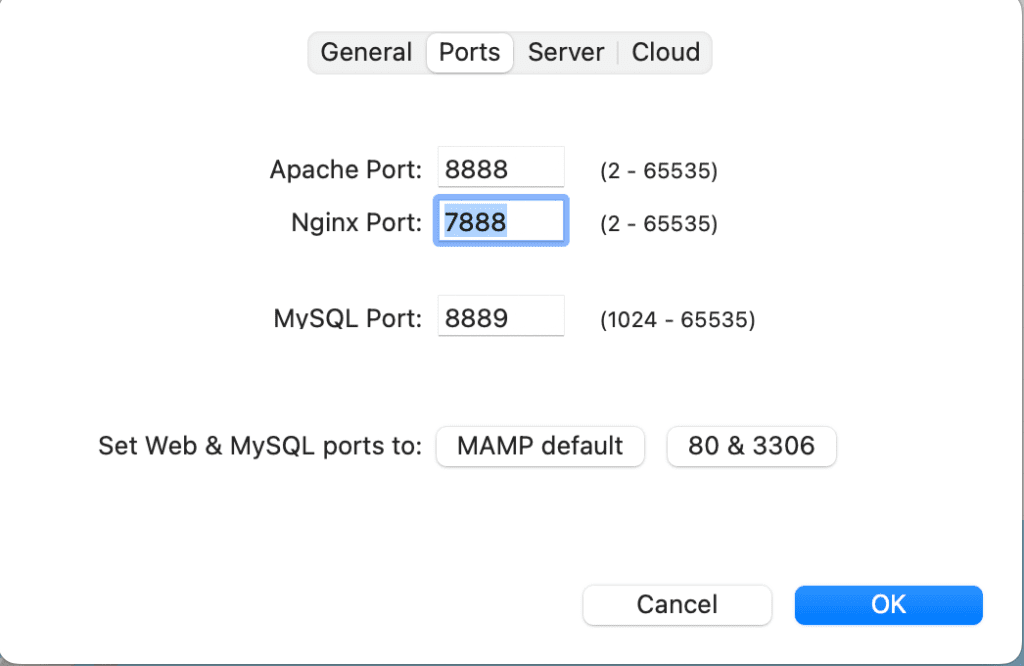
Click on Preference which is on the top left side then come to the Port tab. By default, the port numbers for Apache and Nginx are the same. So from here if you wish, you can change the port of Apache, Nginx, and MySQL. Or leave it as it is. Click on OK
Step 5: Remember you already created a blank directory called “Sites” in step 1.
Extract the downloaded WordPress zip file within the Sites directory and unzip it here by simply double-clicking on it. Now click on References and come to the Server tab. Here we have to make our “Sites” directory the Document root. To do so click on the ‘Choose’ button and select the “Sites” directory that you created in your home directory.
However, here it is important to realize that by setting up the document root, you are not changing the location of the MAMP application. You are simply specifying where MAMP will be looking for the website files.
Step 6: Start your server.
To do this simply click on the start button. This will take some time and open your browser having the URL “http://localhost:8888/MAMP/?language=English”.
Step 7: Create MySQL database.
Before you start your WordPress locally you must have to create a database that will be used by your WordPress. To do so please follow this:
Visit the URL http://localhost:8888/phpMyAdmin. Your PhpMyAdmin will look like this

Click on the databases tab on the far left of the top navigation. Now write the name of your database anything. Here I am taking this as “WordPress”. After you name your database, click the Create button. Thats it.
Step 8: Now set up your WordPress.
Open url “http://localhost:8888/wordpress”. In my case, the directory location is home/Sites/WordPress. That’s why I used “WordPress” after “http://localhost:8888/”. So it will depend on the directory name that you created earlier.
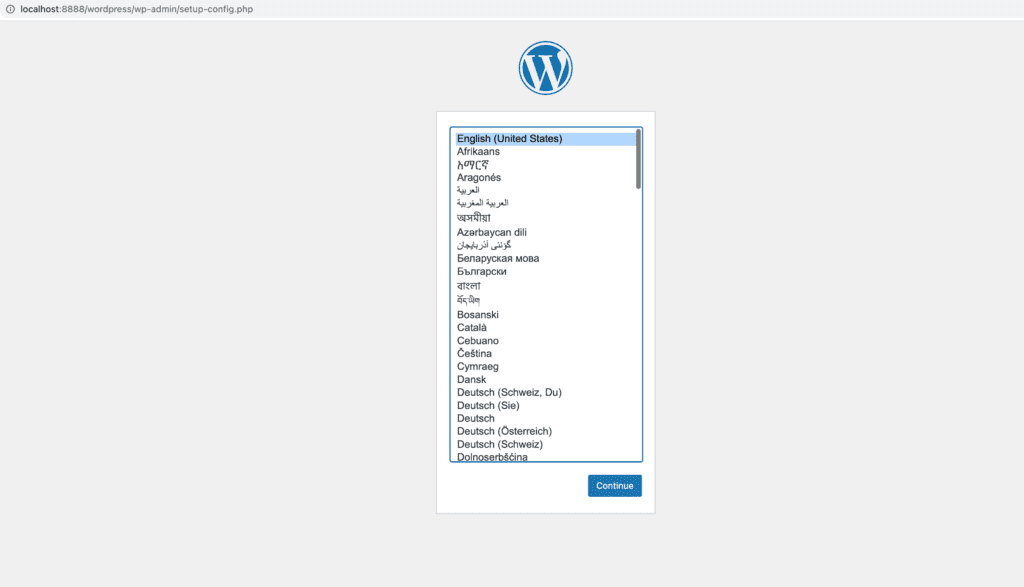
Click Continue with your language of choice.

Click Let’s go! on the next informational screen to select database.

Now write the database name in my case it’s “WordPress”, The username and password will be “root”, and click on Submit.
Step 9: Admin login credential settings
Now proceed further and provide an admin login credential that will be used to login into WordPress admin.
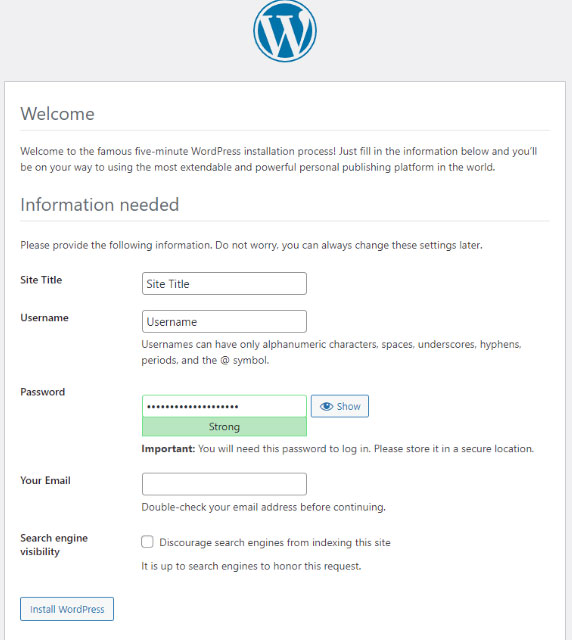
Click on Install WordPress.
Step 10: Click on Login and use the same credentials that you just gave.
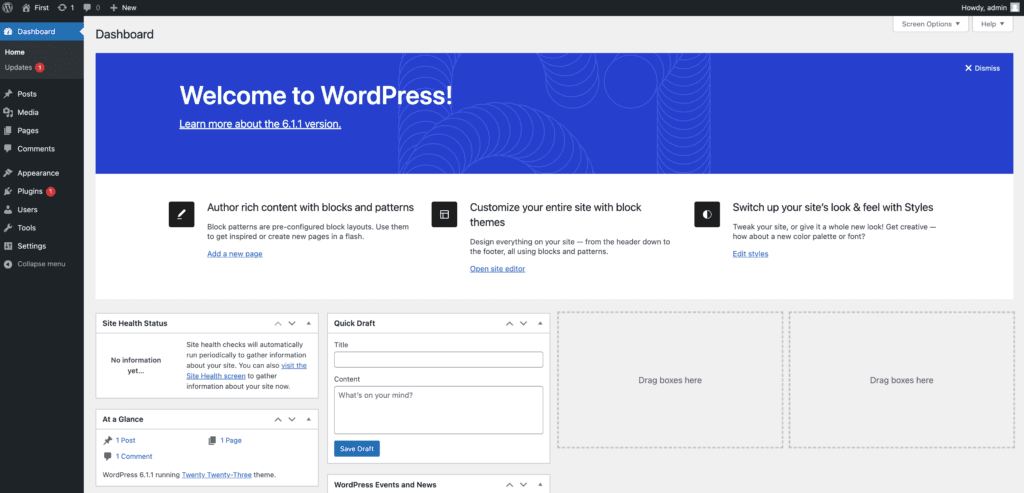
Congratulations now WordPress is ready on your local system.
Conclusion:
It’s simple to install WordPress on a Mac with the help of MAMP. Just follow the instructions and you will be able to install it yourself.
Do you have any inquiries on how to locally install WordPress? In the comments area below, please ask us!
FAQ
Can you download WordPress on a Mac?
Yes! you can download WordPress for Mac from the official website here. After downloading WordPress for Mac unzip the downloaded file. In MAMP you can provide the document root as your directory where you unzipped the WordPress files.
How do I install WordPress on my Mac
1. Download and Install MAMP.
2. Download WordPress and move it to the Root Directory of MAMP.
3. Create a Database and Install WordPress.
4. Your WordPress will be live.
All steps are explained in detail above in this article.
How to install WordPress on Mac MAMP?
1. Download and Install MAMP.
2. Download WordPress and move it to the Root Directory of MAMP.
3. Create a Database and Install WordPress.
Your WordPress will be live.
The same has been suggested above also.
Is WordPress free for Mac?
Yes, WordPress is free for Mac. It’s an Open Source Content Management System and the official language is PHP for this. One can install WordPress with the help of MAMP on a Mac. The process has been already suggested above.
How do I install WordPress on Mac for free?
Step 1: Install the latest version of WordPress.
Step 2: Install MAMP on your local.
Step 3: Now go to your Application directory and open the MAMP folder.
Step 4: Change the ports.
Step 5: Remember you already created a blank directory called “Sites” in step 1.
Step 6: Start your server.
Step 7: Create MySQL database.
Step 8: Now set up your WordPress.
Step 9: Admin login credential settings.
Step 10: Click on Login and use the same credentials that you just gave.

